I have to apologize for not posting my Sunday Share this week, life has been a little crazy the past few weeks. My husband sprained his LCL so he is in a knee brace and having a little trouble getting around. He is wonderful about helping me since I also work full time but with his bum leg his number one priority is to rest so he can get better. He is healing nicely and moving around a lot better so I am able to get some stamping time in.
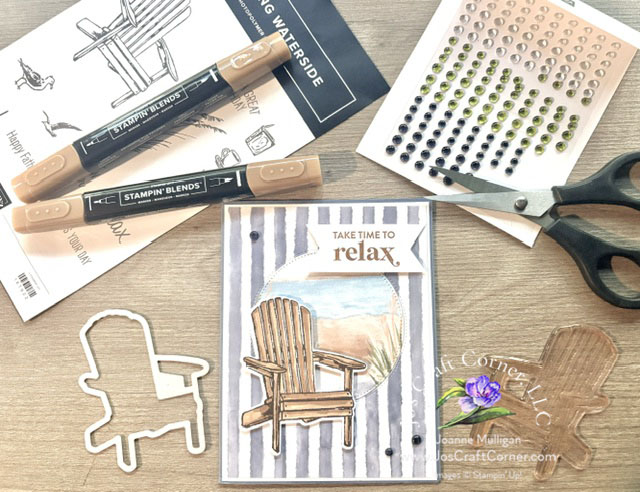
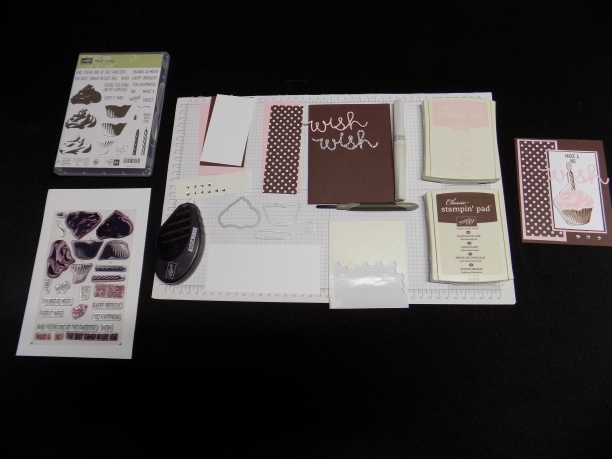
Today I want to show you how to use the two step or as I like to call it the “three step” Sweet Cupcake set to make this adorable birthday greeting.
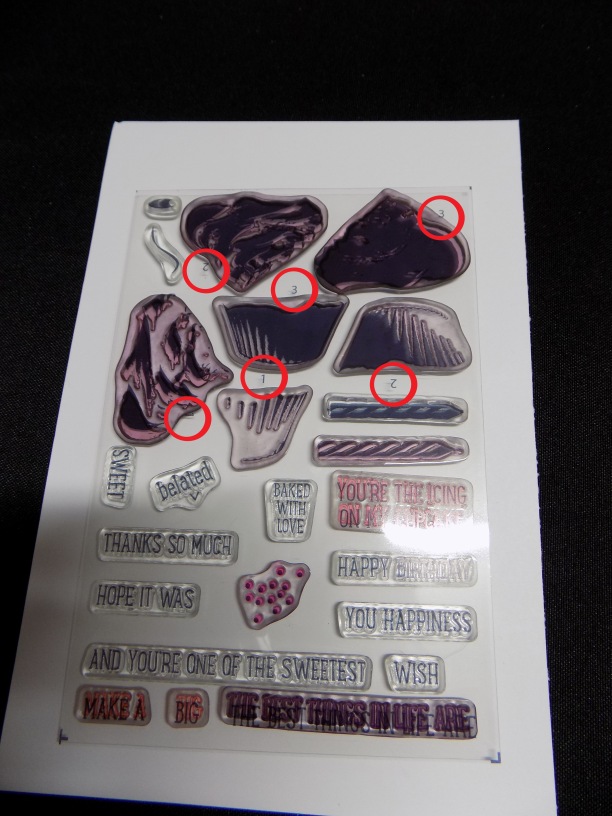
When you look at the set, you will notice on the image sheet there are little numbers letting you know what order to stamp the images in. But me being the rebel I am I like to stamp mine in reverse, 3, 2 then 1. For me it is easier to start with the solid then build the layers ending with the most detailed stamp.


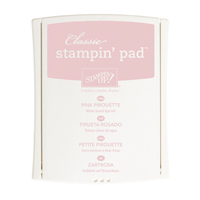
First I picked the #3 frosting stamp. It is the one that is pretty solid.and inked it up using Pink Pirouette. Stamp off on scrap paper once to make the image pretty light. Then stamp on a small piece of Whisper White cardstock. Next I picked the #2 frosting stamp, ink again in Pink Pirouette and stamp directly over the first image. Note: Because this ink is so light I did not stamp off first but stamped it in full strength. Final step use the #1 stamp and using the same ink again, stamp over the image. Again full strength ink to make those frosting swirls come to life!


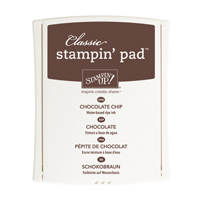
Now we are going to do the same with the cupcake. Using the #3 cupcake stamp I inked it using Chocolate Chip classic ink. This time I stamped it off not once but twice on my grid paper to make it as light as I could. Then I stamped it on the same scrap of Whisper White cardstock as the frosting. Next up the #2 stamp, ink in Chocolate Chip then stamp off once on the grid paper and stamp over the first image. Last take the #1 stamp, ink stamp using the Chocolate Chip full strength over the other two images and viola a yummy cupcake with loads of detail.


For the candle this is a two step, I stamped the solid candle in Pink Pirouette then the stripes using Chocolate Chip ink. The Flame is stamped using Pink Pirouette
Run everything through the Big Shot using the coordinating framelits. The word “wish” was cut from Pink Pirouette cardstock.
Learn more about the coordinating framelits and Big Shot here.


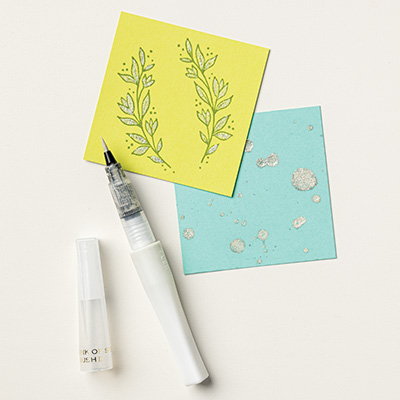
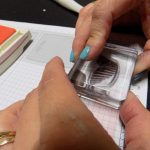
Using the Clear Wink of Stella pen I colored over each piece, just to give it a little bit of glimmer. This is one of my favorite new toys! Love how it dries so quick and gives a subtle sheen. When I looked at the candle I thought it should be inside the frosting just how a candle would be. So time to break out the old X-Acto knife and self healing mat to cut a small slit. Then I inserted the candle.


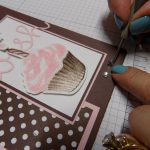

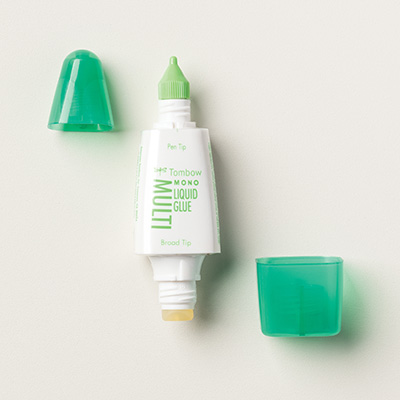
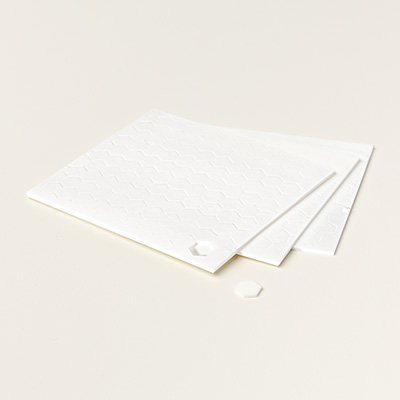
Time to assemble the card! The polka dot DSP in Chocolate Chip is adhered to a Pink Pirouette panel and attached to the far left side of the card base. A Fun Tip: When using photopolymer word stamps it is so easy to create your own phrases. I took “Make A” and “Big” and mounted them on one clear block to make a single “stamp”. I stamped this with Chocolate Chip ink onto a Whisper White panel. This is the mounted on Chocolate Chip cardstock then Pink Pirouette cardstock, attach to the card base as shown. Using itty bitty teeny tiny dots, no bigger than a pin head of Mono Liquid Glue attach “wish” under the stamped greeting. Dimensionals are used to attach the cupcake and frosting taking care to make sure the candle creates the “I” in wish. Then attach the little flame. The final touch, a little bling by adding three rhinestones at the bottom.
The final card!

I hope you enjoyed this tutorial! Check back soon, next time we will continue the bundle and Big Shot theme with the set Jar of Love. As always if you have any question please feel free to contact me any time!
Happy Stamping!!
~Jo