
Here is an easy little holiday decor project using 3″ x 3″ White Gift boxes, Designer Series Paper, little ornaments using the Merry Tags framelits and letters cut using the Large Letters framelits. Since it is fairly easy but does take some time to assemble, I didn’t do a video, but went with pictures to show the project. If you have any questions about this project, please contact me any time!
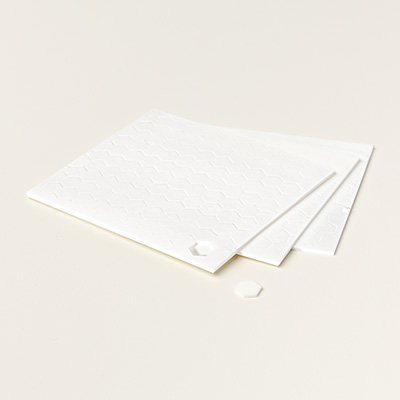
To begin – assemble three of the White Gift boxes, discard the acrylic sleeve (if preferred you can use the sleeve over the finished sides as added protection). Next cut 12 pieces of This Christmas Designer Series Specialty Paper. You will cut these slightly smaller, 2 7/8″ x 2 7/8″. Set the front piece for each box aside and using the wide end of the Multipurpose liquid glue attach one square to the two sides and back leaving the front, bottom and top clear.


With the Merry Tags Framelits, cut three of the solid tags using Garden Green cardstock and three of the filigree ornaments using the Gold Glimmer paper. Using the Multipurpose liquid glue attach the glimmer paper to the solid piece, making sure the Garden Green peeks through. To this attach a piece of Cherry Cobbler Bakers Twine at the top and secure to the square of DSP that will be on the front of the box with dimensionals. Then secure the excess bakers twine to the back with a glue dot. Attach to the front of the block with the multipurpose glue.

Cut the letters “J”, “O” and “Y” from Cherry Cobbler cardstock, attach to the blocks as shown with dimensionals.

And there you go! The boxes can be filled with treats or just put on display!
Project Dimensions:
- This Christmas Designer Series Specialty Paper – 2 7/8″ x 2 7/8″ (cut 12 pieces)
- Garden Green cardstock – 2″ x 2″ (cut 3)
- Gold Glimmer Paper – 2 ” x 2″ (cut 3)
- Cherry Cobbler cardstock – 3″ x 5″
- Cherry Cobbler Bakers Twine – 7″ (cut 3)
Supplies Used: